Lab
5: Top-Down VHDL Design for Xilinx FPGAs
Revised by: Akshay Bharadwaj
Xilinx Vivado
Version: 2015.4 WebPACK
Last Modified:
02/12/2017
Introduction
This lab will
introduce you to top-down VHDL design and synthesis for Xilinx FPGAs. After
completing this lab, you will have all the skills required to complete your
final projects. In the first part of the lab, a small finite state machine
(FSM) is implemented, which will introduce you to the basic VHDL design flow of
the Xilinx Vivado. After that, the implementation of
a stopwatch design shows basics on how to partition your design into smaller
blocks.
Contents:
1. Introduction to the Basys3 prototype board
from Digilent
For specifications
of the Basys3 development board refer to this link: Basys_3,
please read it for better understanding of this design. Click here for the schematics of
the board.
2. Creating projects using Xilinx Vivado
For instructions on creating projects
using Xilinx Vivado and programming the Basys3
development board from Xilinx refer to Lab 2, please
read it for better understanding of this design.
3. Overview of a sample design implemented on
the prototype board
The sample design
implements a stopwatch on the prototype board. The stopwatch displays the time
on the 4-digital, 7-Segment LED display module on the prototype board. It can
be reset, started and stopped on demand by using reset, start and stop inputs
which are the push-buttons on the board. The whole design can be divided to
four functional modules: top level design,
timer, controller, and interface.
Module1: Stopwatch top-level design.
SWFINAL.vhd ---Stopwatch top-Level
structural description. It integrates two components: timer and stopwatch
controller, and provides an interface to interact with interface module.
Module
2: Timer
TIMER.vhd --- Design a simple timer that
counts in 1/100th of a second increments. This can be
done by feeding the timer with a 100Hz clock provided by CLKDIV2.
CLKDIV2.vhd --- divide the 36MHz system
clock to 100Hz.
Module 3: Stopwatch controller
SWFSM.vhd ---Implement a state machine to
describe the behavior of the stopwatch.
Module
4: Final design of stopwatch with
interface module
STOPWATCH.vhd (including interface) –
Final design integrates interface module and the component of stopwatch
top-level design. Interface module exchange data between stopwatch top-level
design and the expansion board.
You can download
the source code from the above corresponding link. Read the code and do some simulation for
better understanding.
4. Synthesize the sample code, generate the
bit file and download the bit file to board
If you cannot
remember the process, follow the instructions given in Lab2.
·
Create a Project
·
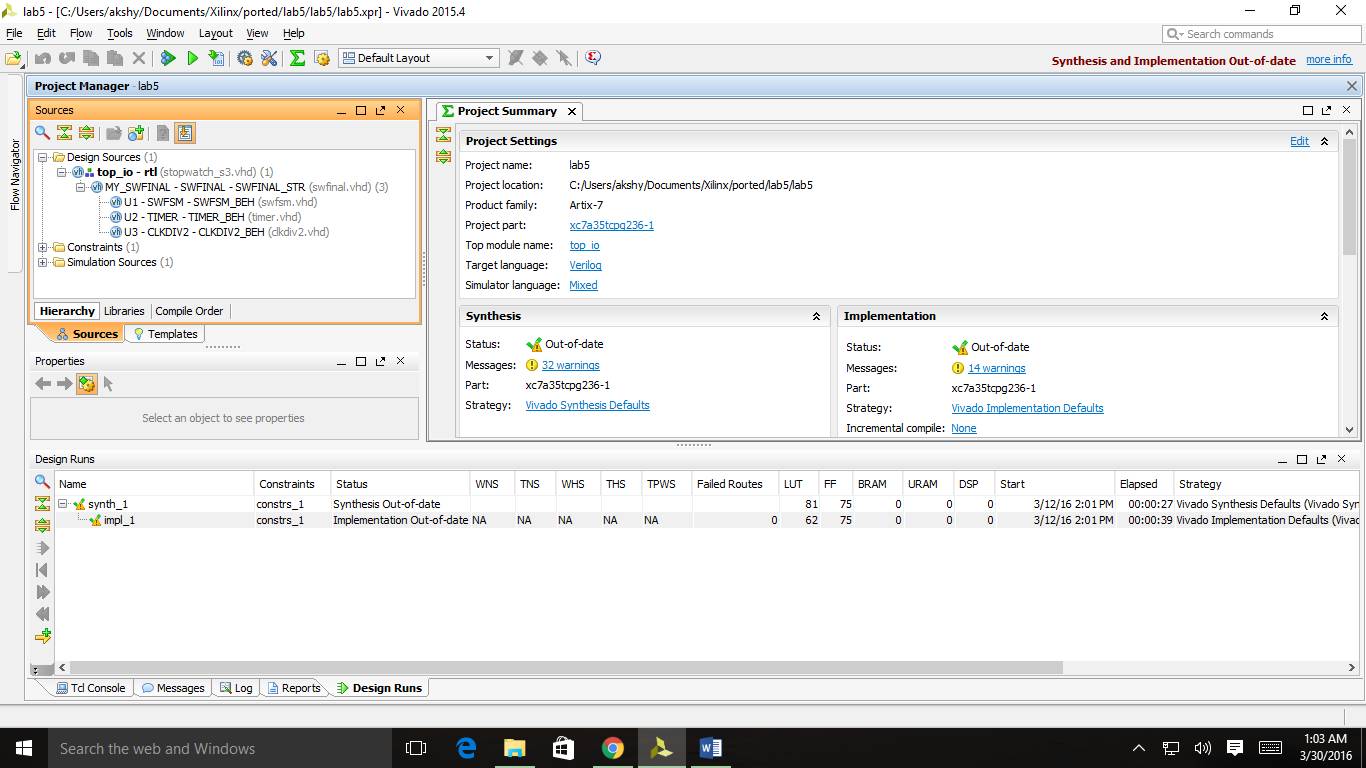
Add Source Files: After you add files to the
project, your hierarchy of files in the design should look as seen in the image
below
·
Synthesize design
·
Create the design implementation
1.
Download
the Constraints File: .xdc
file
2.
Add
the user constraints file to the project.
Note: -The project manager
automatically detects that this is a Constraints File (based on the extension
“.xdc” used).
3.
If
you make changes to the constraints file, after adding it to the project, save
the constraints file.
4.
A
general constraints file with details of all pins on Basys
3 board available for use is available at: Basys3General.xdc (Updated link
to global page )
5.
Pin
details are also available in the Basys 3 reference manual. (Updated the page to global
page)
·
Generate Programming File
·
Program the FPGA on Basys 3 Development Board
5. Modify the design and test it on the board
Change the display
of the time from 10 sec, 1 sec, 1/10 sec and 1/100 sec
to 10min, 1min, 10 sec and 1 sec and set the initial time to 59:00, which is fifty-nine minutes and zero second.
Modify the sample code and synthesize, generate the bit file and download it to
the board. Mail your results to TA.
Requirements:
•Download your
modified design to the board and mail your results to TA.
•Draw
the state machine diagram of the stopwatch controller (module 3) in your lab report.