Xilinx
Vivado WebPACK Installation
Instructions
Note:
- The instructions and images are specifically for Xilinx Vivado
WebPACK 2015.4 but
should be valid for other editions of Vivado design
suite.
The URL for the Vivado
downloads page: http://www.xilinx.com/support/download.html
The download page should look
something like this.
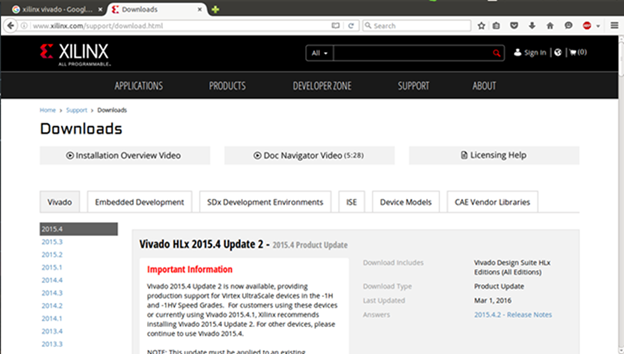
From
a long list of all the available downloads, select “Vivado
HLx Web Install Client” or “Vivado
Design Suite - HLx Editions - Single File Download -
2015.4 Full Product Installation”. Make
sure to select the appropriate OS you are using.
Note:
-
1. This
installer guide is specific to Single File Download, Web Installation is
similar, but instead of downloading the *.tar.gz file, you will be downloading
an executable (*.exe on for Windows) / binary (.bin for Linux) file.
2. The
installer files are very large (about 10
GB) hence downloading them will take time (sometimes more than an hour).

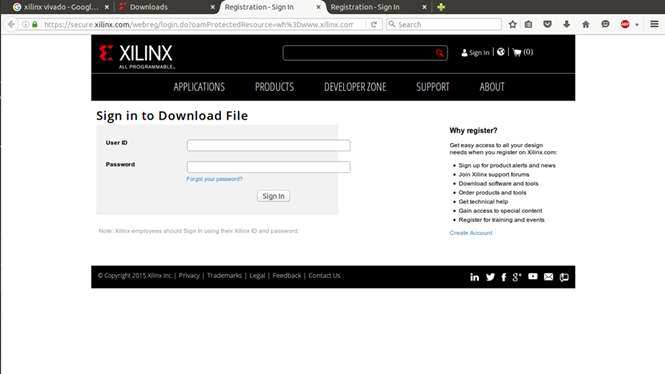
Sign
in to download the file, create a User ID if needed. Depending on your internet
speed, the download can take an hour or more to complete. Here we assume that
we have downloaded the single .tar file for Windows.
Extract
the .tar archive using 7-Zip or WinRAR, here we use WinRAR. Select the
Xilinx_Vivado_SDK_Win_2015.4_1118_2.tar.gz archive, right-click and under
WinRAR select “Extract to “Xilinx_Vivado…”” folder.
After extracting, you should find the following folders and files in the
extracted folder.
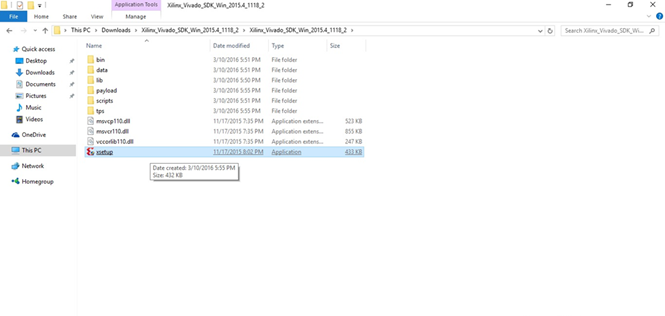
Right click on the “xsetup.exe” file in the folder to which the
archive was extracted and select “Run as administrator”.
Note:
-Installation requires about 10 GB of disk space and takes
time (again, sometimes more than an hour).
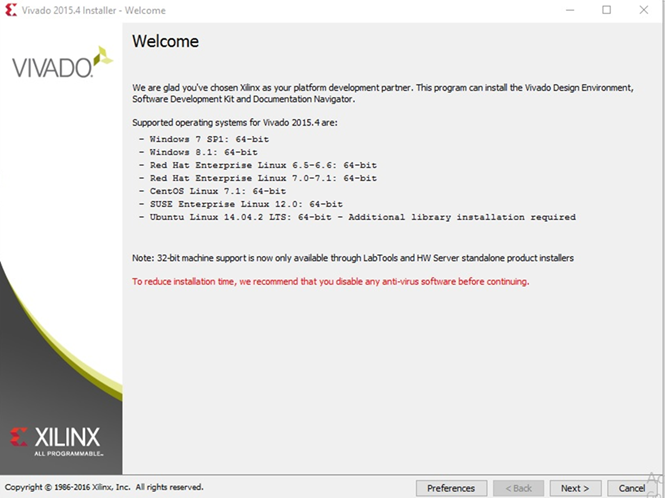
Provide administrator password, if
needed. Click on “Next” to start installation.
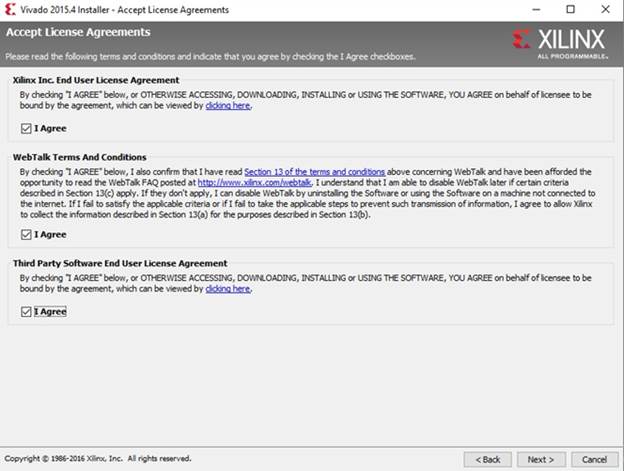
Accept the
license agreement and click “Next” to continue.
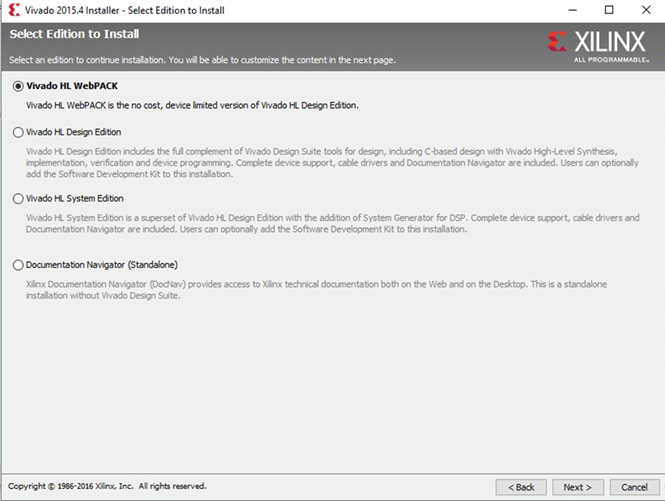
Select the products to
install and click “Next”. If you want to use the free edition select “Vivado HL WebPACK” under
editions, the other editions require a paid license or install the software as
a 30-day trial edition.
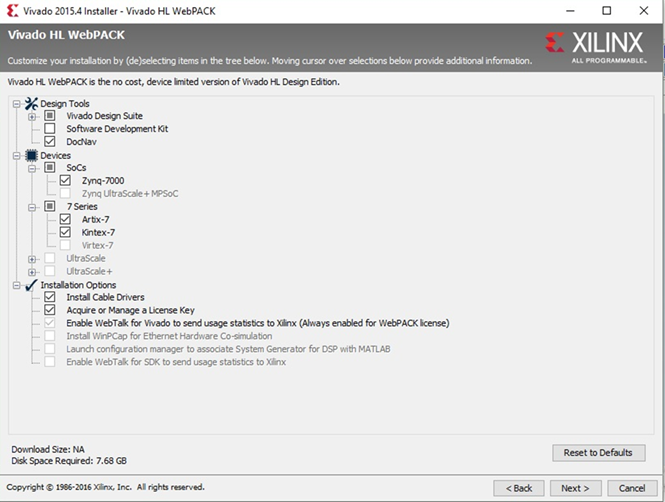
Select installation
options and click “Next”. You can go with the default selections.
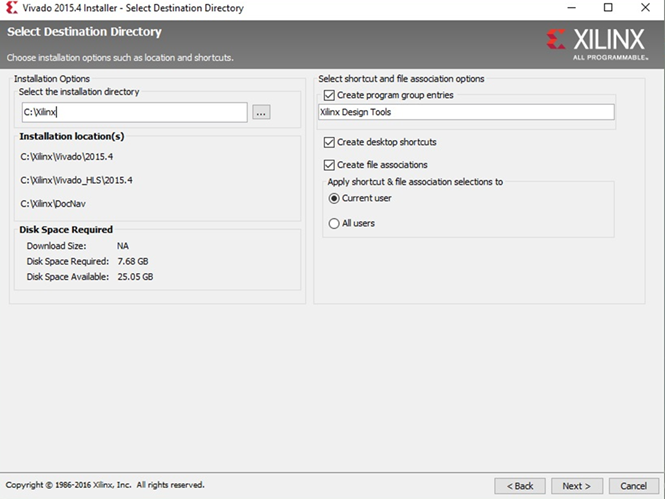
Select the location of the
installation folder, you can either use the default “Destination Folder” or
select another one and click “Next”. You can keep the other options that are
selected by default.
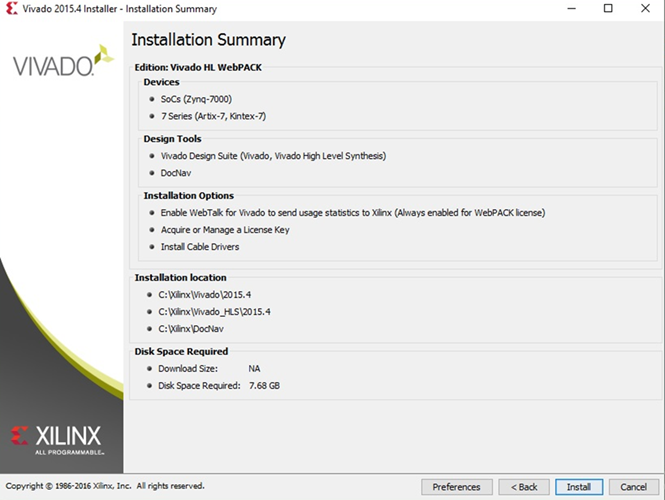
If you get a prompt
stating the specified directory does not exist, in this case “C:\Xilinx does
not exist, do you want to create it?”, click “Yes” to
create the directory and continue. Click “Install” to continue with the
installation process.
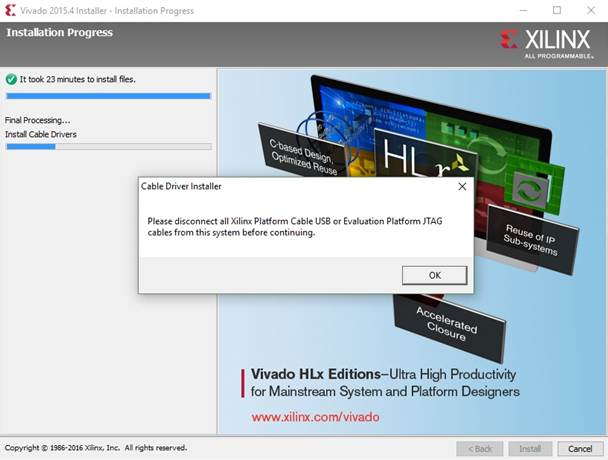
During
installation, you will be asked if you want to install additional software and
programs, kindly follow the instructions on the screen to install them.
Note: -
Many of these tools and drivers are required by the PC for the FPGA board to
work without errors. Failing to install the additional drivers / software may
lead to erroneous FPGA board - PC connection.
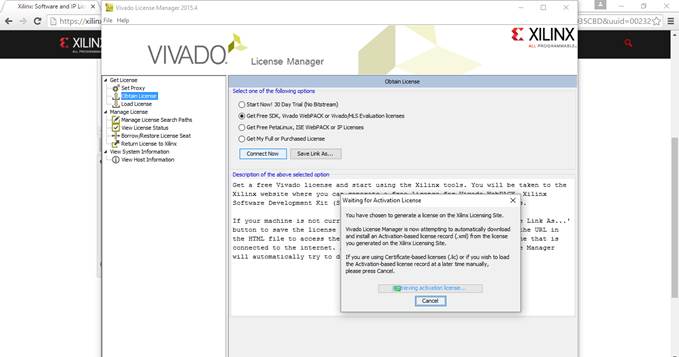
After
installing the cable drivers, license manager automatically pops up. Select
“Get Free SDK, Vivado WebPACK, …..” and click “Connect Now”.
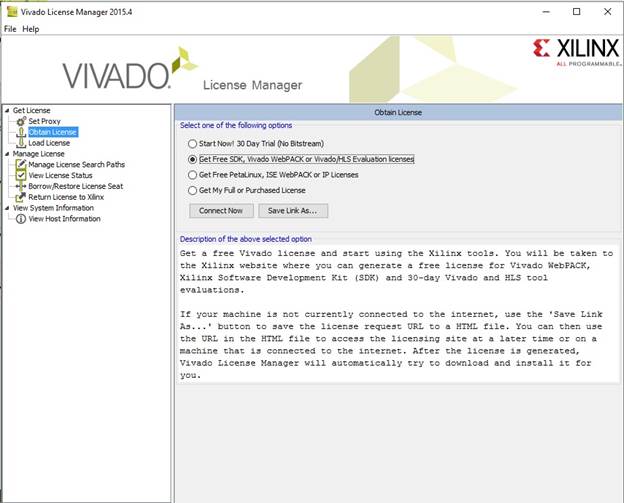
You
will be redirected to the licensing webpage on your browser. You will be asked
to login and enter registration information.

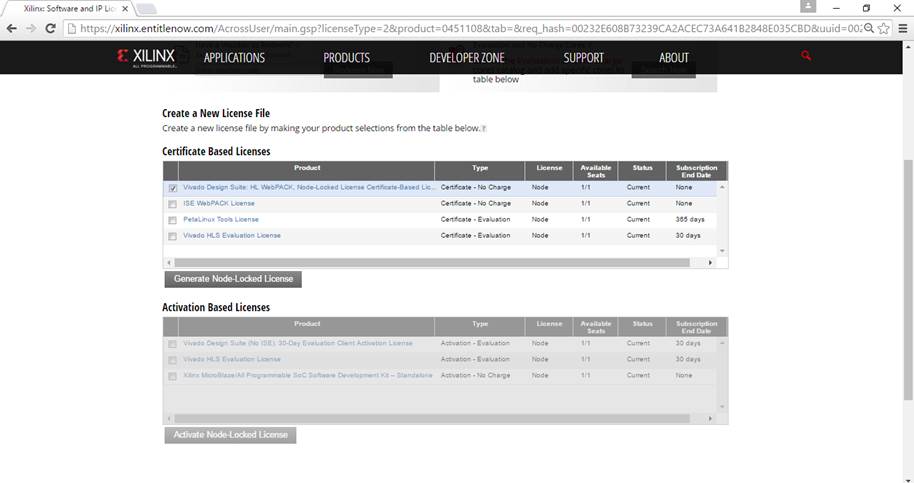
After filling out the registration information, you will be taken to the licensing page. Scroll down to Certificate Based Licenses and select Vivado Design Suite: HL WebPack and click Generate Node-Locked License.
A
pop up will appear with the list of products selected for license generation,
click next, another similar review window will appear, click next.

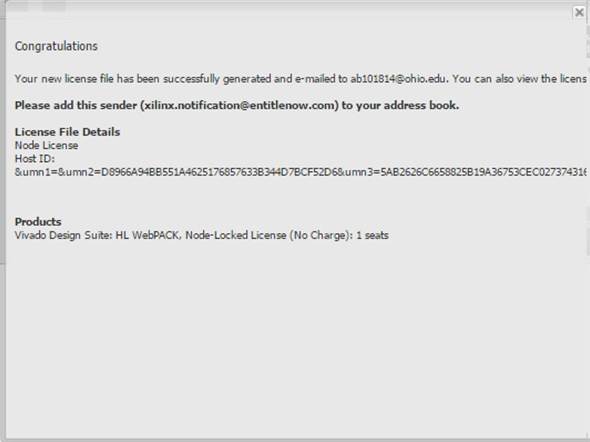
You
should next see a window that says that license has be successfully generated.
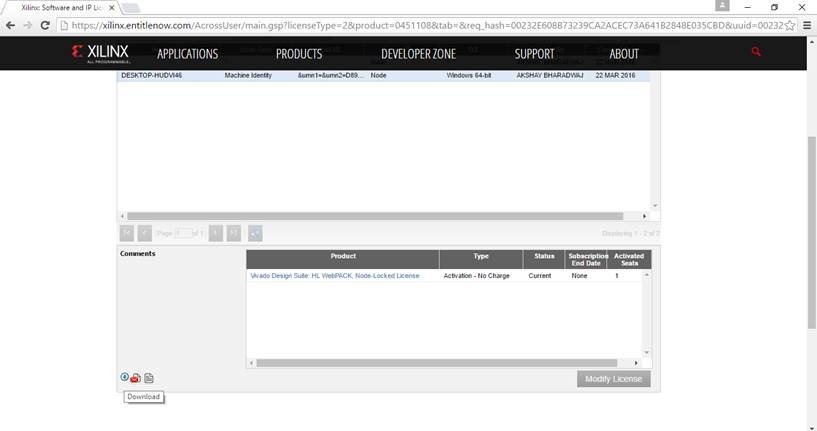
Now
close the above window and go to the manage licenses tab. Select the generated
license file and click on the little arrow on the left bottom of the window to
download the license. OR The license
file would have been mailed to the email address provided, download the license
file and save it to your root folder of the installation directory (for example
“C:\Xilinx”).
Click
cancel on the license manager.
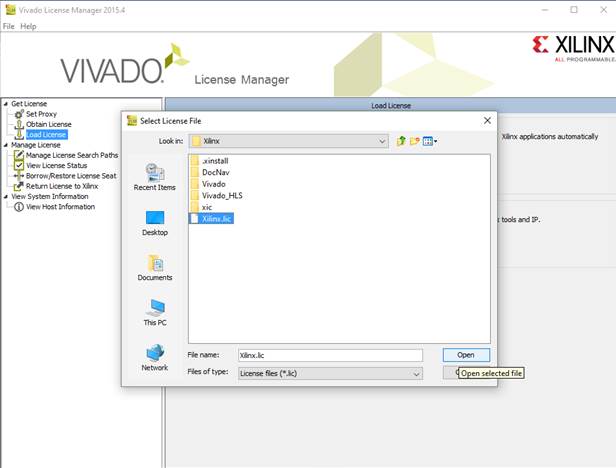
Go
to Load license tab and click copy license
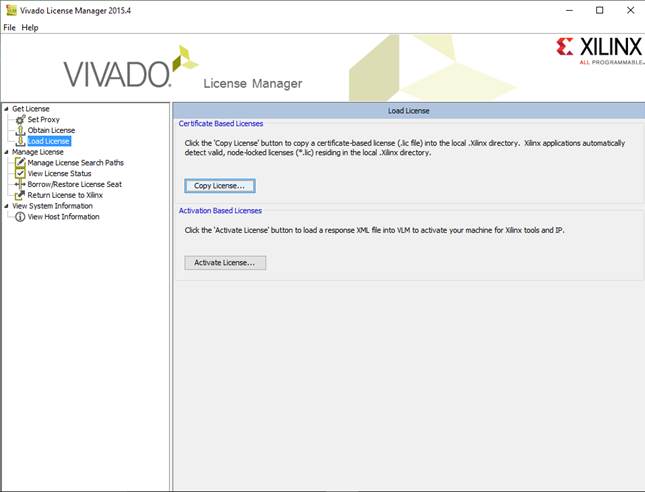
A
browser window will open up, navigate to the directory you placed your license
in and select the license file and click open.
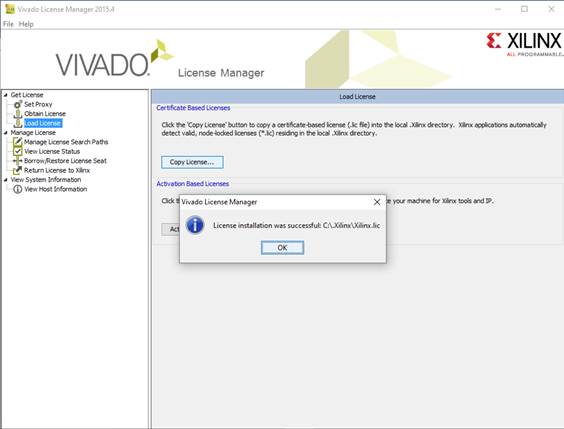
That’s
it. Your software is activated. Now click OK on the activation message and
close the license manager.
You
should get a window indicating that the installation was successful. Click OK.
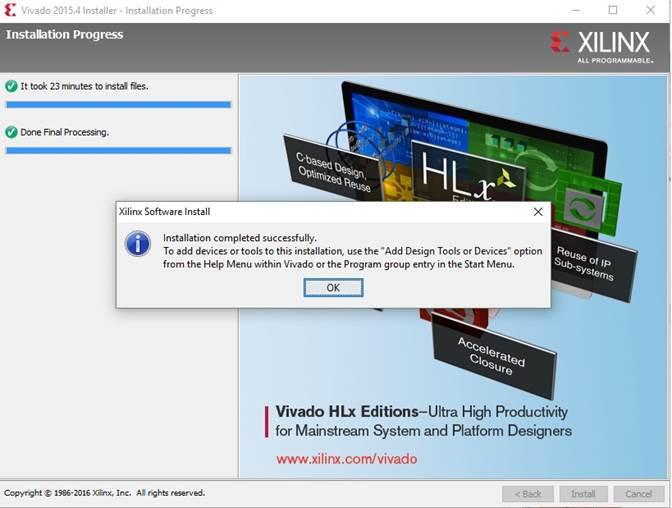
You
are all set for VHDL programing using Xilinx FPGAs.