Active-HDL
Installation Instructions
Note:
- The instructions and images are specifically for Active-HDL Student Edition
9.3 but should be valid for other editions of
Active-HDL.
Double click on the downloaded software.
Active-HDL Student Edition 9.3 software is a “Self-Extracting Archive”, and you
might need a tool such as WinRAR. This opens a pop-up window asking permission
to “Extract” the files in the archive.
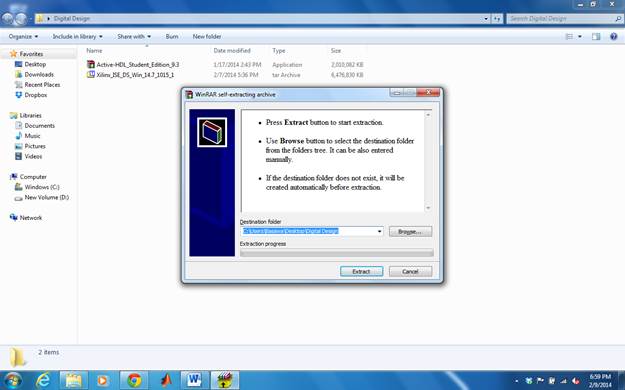
Click “Extract”
to start extracting the files, the default “Destination folder” can be changed.
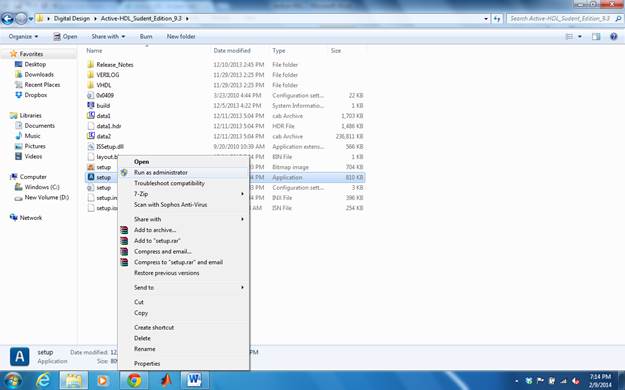
Right
click on the “setup.exe” file in the folder to which the archive was extracted
and select “Run as administrator”.
Provide
administrator password, if needed.
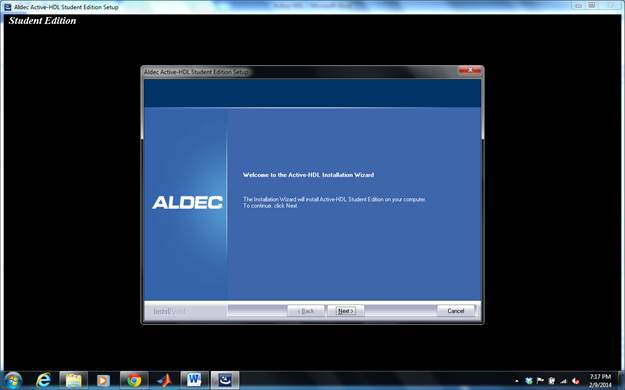
Click
on “Next” to start installation.
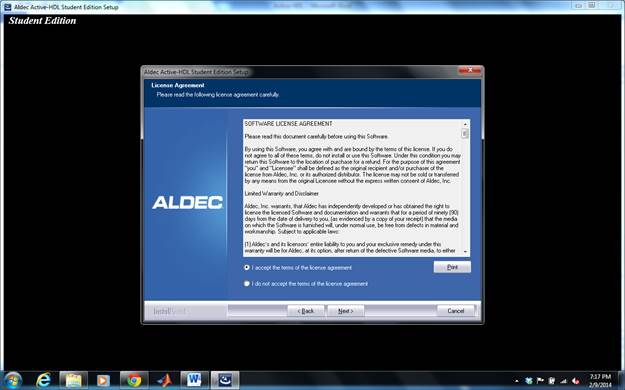
Accept
the license agreement and click “Next” to continue.
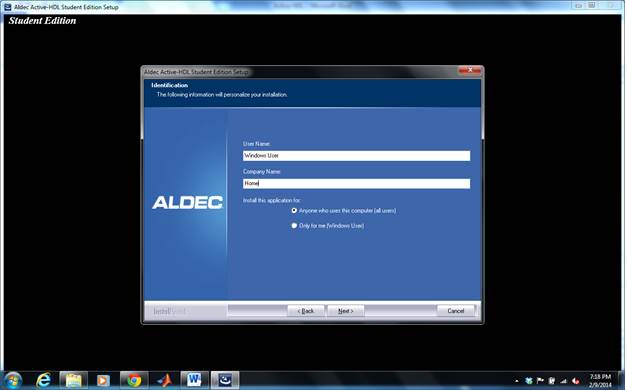
Provide the “User Name”
and “Computer Name” and select approved users and click “Next”.
Select the location of
the installation folder, you can either use the default “Destination Folder” or
select another one and click “Next”.

Select the location of
the default project folder, you can either use the default “Destination Folder”
or select another one and click “Next”. Note:
- This does not preclude selection of a different folder(s) for your
various project(s).

Choose the Active-HDL
components that you want to install.

If you need to perform Matlab/Simulink and VHDL co-simulation select “Run
MATLAB/Simulink Interface Setup” option. Note:
-This requires that you have Matlab already installed
on your machine.
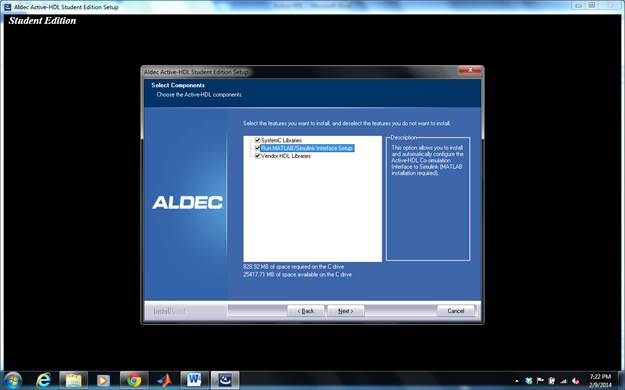
Click on “Next” to
continue.
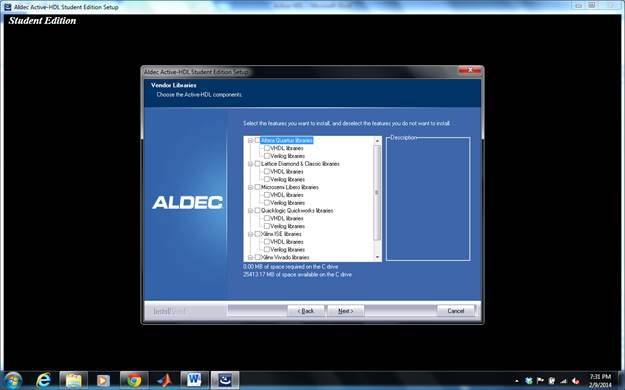
Choose the specific
vendor libraries that you will need and click “Next”. Note: - For the work related to this course you can do without any
specific libraries, but if needed you can install vendor libraries from the
manufacturer of the FPGA you are using.
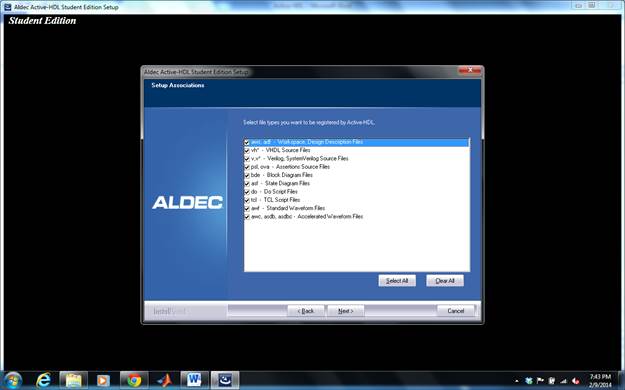
Select
the file types that you want to be associated with Active-HDL and click “Next”.
You can go with the file types selected by default.
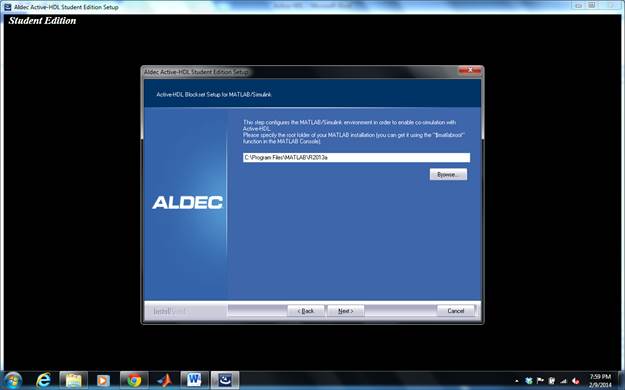
If you had selected Matlab/Simulink co-simulation option you will be asked for
the root folder of you Matlab installation.
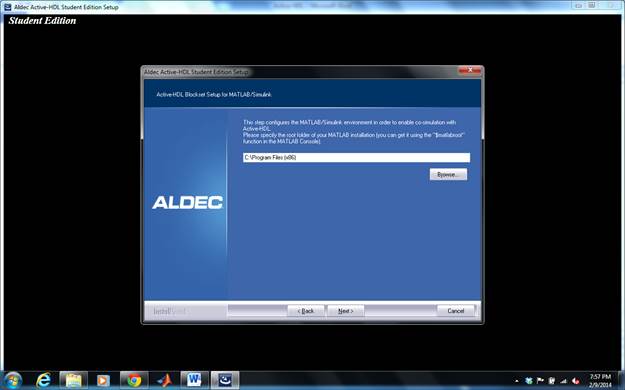
Provide the path to the
Matlab root and click “Next”.
Click “Next” to begin
installation.

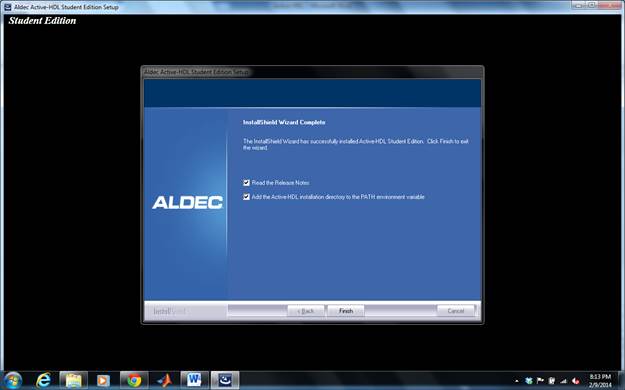
Click “Finish” to
complete the installation. Note: -Make
sure that “Add the Active-HDL installation directory to the PATH environment
variable” is selected.